

Keeping Your Infrared Heaters Safe in Wet Zones
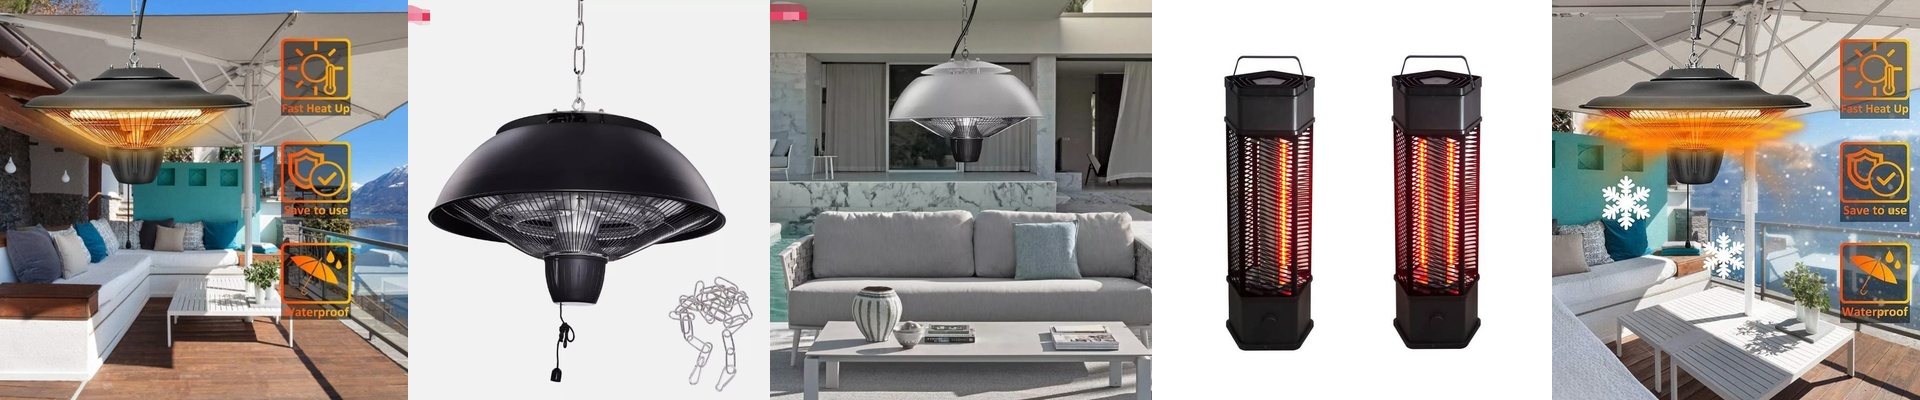
Putting infrared lamps in a bathroom or a damp garden spot is a bit of a gamble if you aren’t careful. Water vapor is sneaky. It doesn’t just sit there; it finds its way into standard housings, which can lead to everything from weird current leaks to a full-blown short circuit. If you’re aiming for a real IP65 rating, the secret is all in the seal where the lamp terminals meet the power feed.
Why moisture is such a pain
Think about steam in a bathroom. It migrates. If you’re using basic open-wire connections, that moisture creates a little bridge across the ceramic insulators. Not great. We stop that from happening by using silicone-potted terminal blocks and gaskets that are hermetically sealed. Basically, we lock the live current inside the conductor. No leaks. No sparks. No surprises.
The gear you actually need
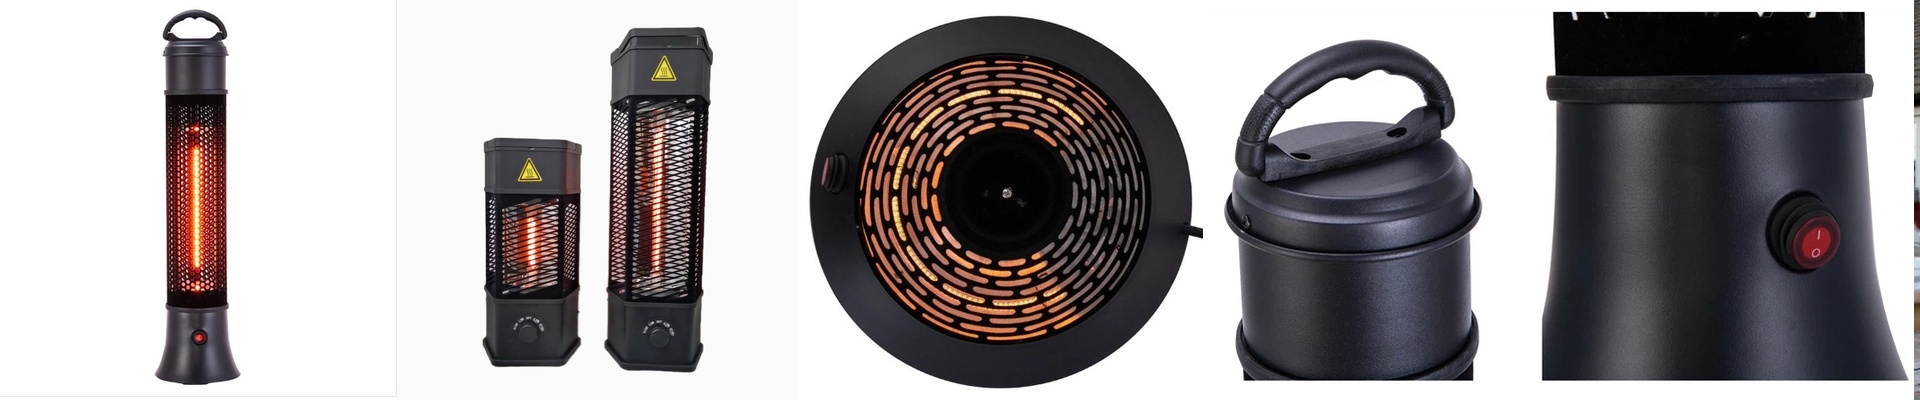
We use materials with a high dielectric strength because they don’t fall apart when they’re constantly heating up and cooling down. The housing has to be grounded, obviously. We go with a double-insulated chassis so that even if a quartz tube cracks, the outer shell won’t zap you. But here’s the thing: don’t just trust the heater’s internal insulation. That’s a risk you just shouldn’t take. Pair the whole setup with a dedicated GFCI breaker. It’s your safety net.
The trade-off
Here’s the catch. To get that 100% isolation, you need tight seals. But tight seals mean the heat doesn’t escape as easily. Because the housing is closed up to keep the water out, the electronics inside run hotter than they would in an open-air garden heater. You’ve got to leave plenty of room around the unit for airflow, otherwise, the thermal cutoff will just kick in and shut you down. One last tip: use heat-shrink tubing at every single junction. It stops moisture from “wicking” its way into your conduits. Do that, and you’ve got a setup that keeps the power where it belongs and keeps everyone safe.