
Getting Your Glass Heat Just Right
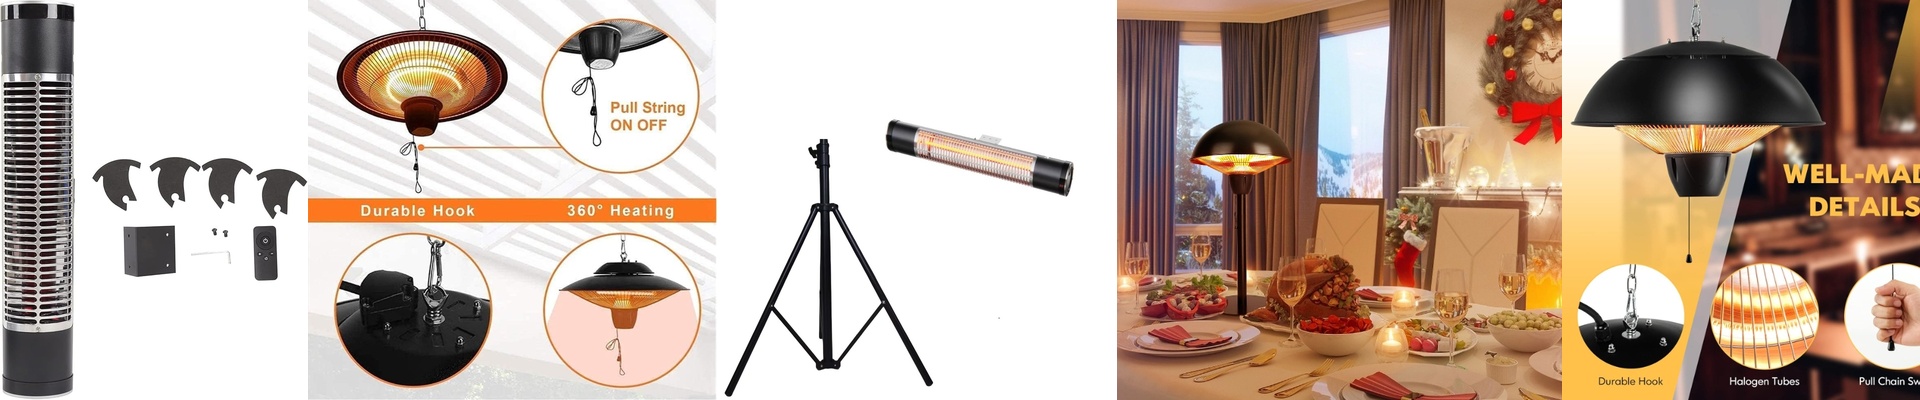
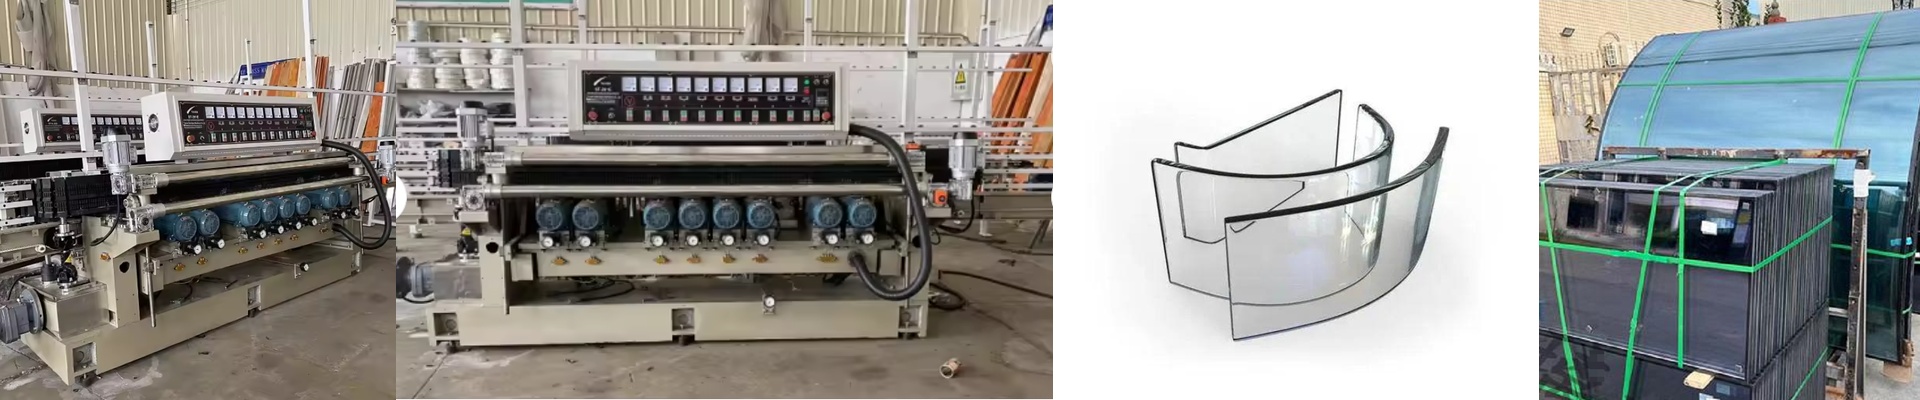
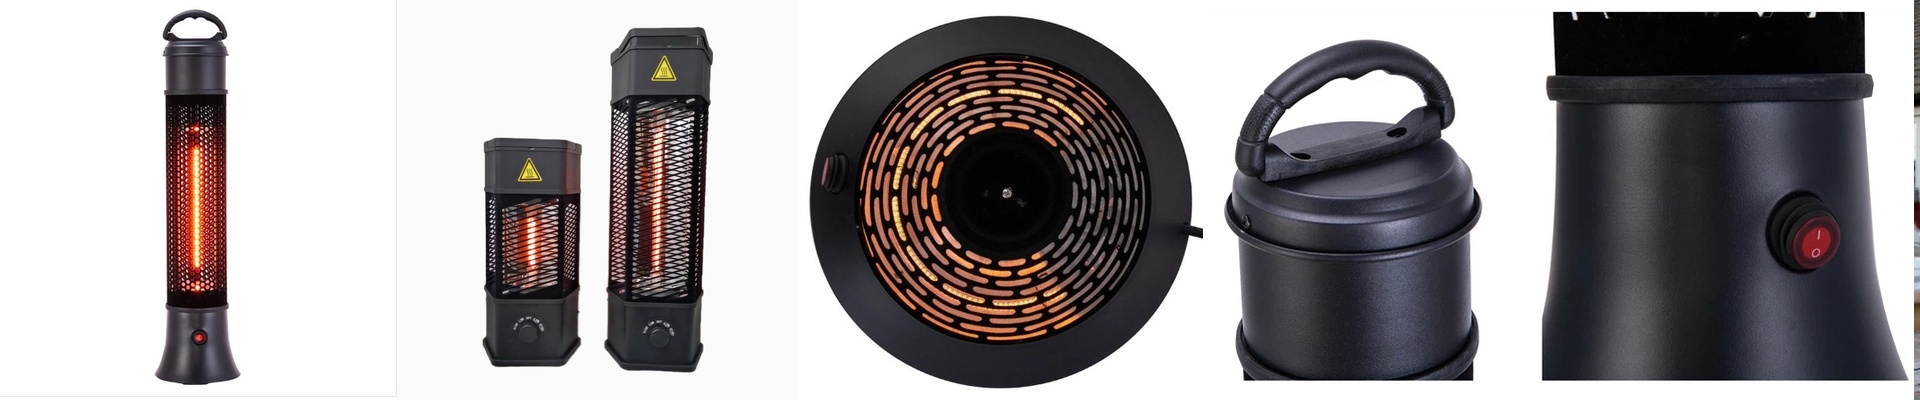
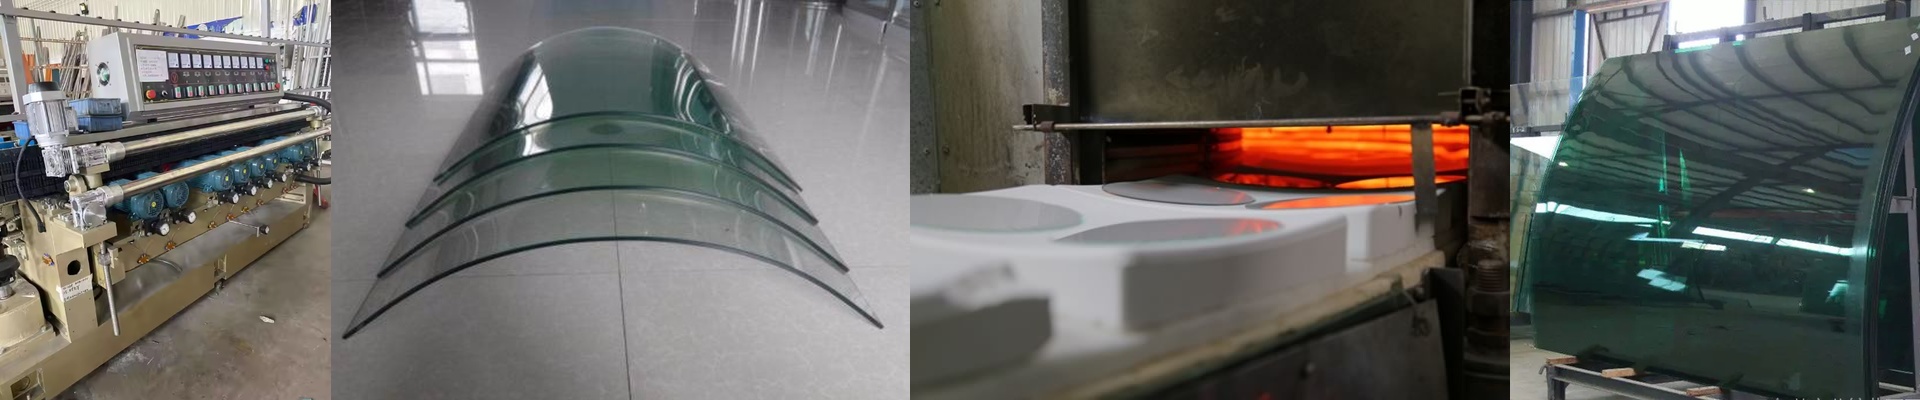
If you’ve ever dealt with tempered glass, you know the nightmare of hot spots. One tiny uneven patch of heat and you’ve got residual stress. Then, snap—the whole piece breaks. It’s frustrating. The real headache usually starts when you want to upgrade your heat source. Most people think they have to tear down their entire machine frame just to get better heating. But it doesn’t have to be that way. Stop fighting with your sockets We’ve all been there. You find a better lamp, but it won’t fit because the vendor used some weird, proprietary socket to lock you into their ecosystem. It’s a pain. That’s why we made our heating elements “drop-in” replacements. Whether you’re using standard screw-ins or some strange, custom-shaped connector, our gear just fits. You can pull out those old, tired elements and pop in our high-output versions. No rewiring. No rebuilding. No spending a whole weekend in the shop just to get back to work. It’s not just about the fit Getting the lamp in the socket is the easy part. The hard part is making sure the heat actually hits the glass evenly. Since we match the exact footprint of your current setup, the radiation hits the same focal point it always has. Plus, we use high-grade quartz and a specific way of winding the filament. Why? Because it stops that annoying “edge-effect” where the ends of the tube stay cool while the middle is screaming hot. You get a steady, stable glow from end to end. A quick heads-up on the power Here is the thing: more heat means more power. If you’re jumping to a higher wattage lamp but keeping your old interface, take a second to check your wiring. Make sure your gauge can actually handle the extra current. And do yourself a favor—check your contact points for oxidation before you flip the switch. You don’t want to deal with arcing at the interface. A quick check now means your upgrade stays stable and doesn’t fry your system during a long production run.